
 English
 中文简体
中文简体 Home / News / Industry News / A Comprehensive Guide to Injection Molding: Defects, Materials, Cost, and Quality Control
Content
Most injection molding defects trace back to one of three root causes: incorrect process parameters (temperature, pressure, or cooling time), a mold design issue (gating, venting, or wall thickness), or material problems (moisture, contamination, or degraded resin). Identifying which of these three buckets a defect falls into is usually the fastest path to a fix, since chasing process tweaks on a mold-design problem, or vice versa, wastes production time without resolving the underlying issue.
The most frequently encountered defects — short shots, sink marks, gate blush, warping, flash, and voids — each have a distinct visual signature and a distinct set of likely causes, which makes systematic troubleshooting far more effective than adjusting machine settings by trial and error.
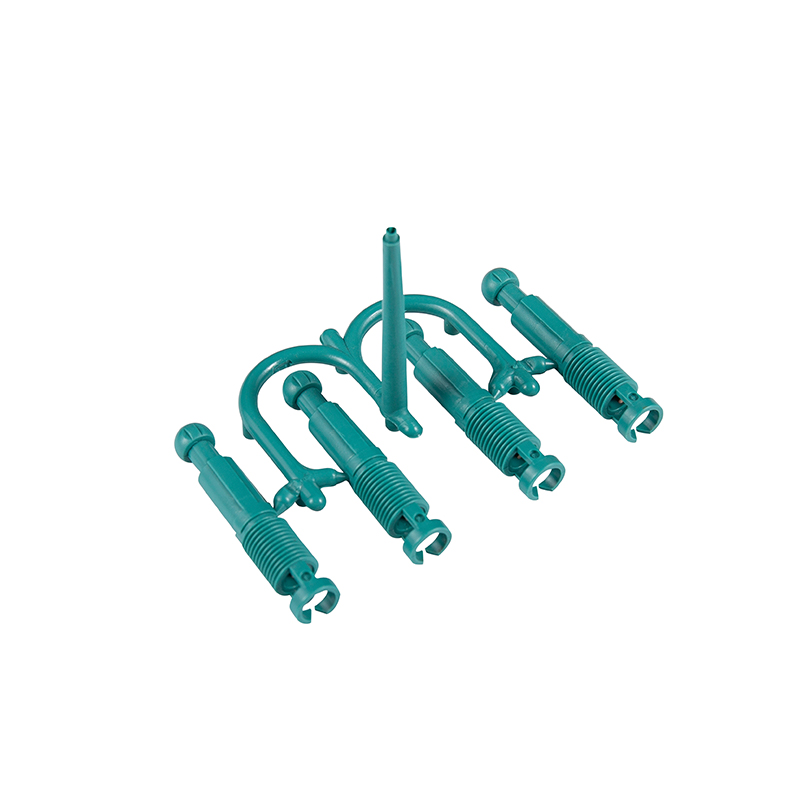
A short shot occurs when molten plastic fails to completely fill the mold cavity before it solidifies, leaving the part incomplete. It's most common in parts with thin walls, long flow paths, or multiple cavities where resin has to travel a long distance while staying hot enough to keep flowing.
Typical causes and fixes include:
Sink marks are shallow depressions on a part's surface that form where thicker sections cool and shrink more slowly than the surrounding thinner wall, pulling the outer surface inward as the material solidifies. They're especially common opposite ribs, bosses, and other thick features on an otherwise thin-walled part.
Correcting sink marks generally starts with holding pack pressure longer and at a higher level, which continues feeding material into the cavity as it cools and compensates for shrinkage. Where that alone isn't enough, reducing the wall thickness of the offending rib or boss — typically to 50–60% of the adjoining nominal wall — addresses the root geometric cause rather than just masking it with process adjustments.
Gate blush is a visible discoloration or streaking radiating out from the gate area, caused by the molten resin shearing at high velocity as it jets through a small gate opening into the cavity. The friction from that shear heats the material locally and can also create a jetting pattern where the melt stream folds back on itself before the cavity fills evenly, both of which show up as a visual blemish near the gate.
Reducing injection speed specifically during the initial fill phase, increasing gate size, or relocating the gate to a less visible or less flow-critical location are the standard fixes. In some designs, switching to a fan or tab gate that spreads the melt stream out as it enters the cavity resolves gate blush that a straightforward pin gate can't avoid.
Air bubbles, or voids, in an injection molded part typically come from one of two sources: air mechanically trapped in the cavity or runner system during fill, or gas released from moisture or volatile additives in the resin itself as it heats. Trapped-air voids usually appear near the last-fill area of the cavity, while moisture-related voids can appear more broadly throughout the part.
Drying the resin to the manufacturer's specified moisture content before molding eliminates most moisture-driven voids, since many engineering resins are hygroscopic and absorb ambient humidity if stored improperly. For trapped-air voids, improving mold venting, slowing injection speed to give air more time to escape ahead of the melt front, and increasing holding pressure to compress any residual voids all reduce the defect.
Quality control in plastic injection molding operates at three points in the production flow: incoming material inspection, in-process monitoring, and finished part verification.
ABS (acrylonitrile butadiene styrene) is one of the most widely molded engineering thermoplastics, valued for its balance of impact resistance, rigidity, and ease of processing. ABS is moderately hygroscopic, so pre-drying — typically 2 to 4 hours at around 80°C (176°F) — is a standard step to prevent moisture-related splay marks and voids.
Typical ABS molding conditions run a melt temperature between roughly 210°C and 260°C (410°F–500°F) and a mold temperature between 50°C and 80°C (122°F–176°F), with the exact figures depending on the specific ABS grade and part geometry. ABS shrinks relatively little compared to semi-crystalline resins, typically around 0.4–0.7%, which makes it a forgiving material for holding tight dimensional tolerances, and its wide processing window is part of why it's a common first choice for consumer product housings, automotive interior trim, and general-purpose enclosures.
Consistent mold maintenance prevents the gradual degradation that eventually shows up as part defects, longer cycle times, or unplanned production stoppages. A structured maintenance program typically covers:
Tracking maintenance against cycle counts rather than calendar time tends to catch wear issues more reliably, since a high-volume mold accumulates wear far faster than a low-volume one even over the same number of months in service.
Custom plastic molding cost breaks down into two fundamentally different categories: a one-time tooling investment and a recurring per-part production cost. Confusing the two is a common early mistake for buyers new to injection molding — a low quoted "part price" can still mean a high total project cost if the tooling investment behind it is substantial, while a higher per-part price sometimes comes with a lighter tooling investment that suits lower total volumes better.
Beyond those two core categories, secondary cost factors include part complexity (undercuts, tight tolerances, textured surfaces), resin selection, required certifications or testing, and any secondary operations such as painting, ultrasonic welding, or assembly that happen after the part comes out of the mold.
Per-part cost is calculated by combining material cost, machine time cost, and labor, then dividing tooling amortization across the expected production volume. In simplified form: part cost = (material cost + (cycle time × machine rate) + labor) + (tooling cost ÷ total production volume). This is the same logic behind most online injection molding cost calculators, which ask for part weight, resin type, expected volume, and part complexity to estimate a per-unit figure.
Tooling (mold) cost is typically the largest single line item in a new injection molding project, and it's driven primarily by part complexity, mold size, cavity count, and the mold steel grade selected for the expected production volume. A simple single-cavity prototype mold in a softer tool steel might run a few thousand dollars, while a complex multi-cavity production mold with hardened steel, side-action slides, and hot runner systems can run well into six figures.
| Factor | Effect on Tooling Cost |
|---|---|
| Cavity count | More cavities raise mold cost but lower per-part production cost |
| Mold steel grade | Hardened steel costs more upfront but withstands far higher cycle counts |
| Part complexity | Undercuts, slides, and lifters add machining time and mechanism cost |
| Hot runner vs. cold runner | Hot runner systems cost more but reduce material waste and cycle time |
| Surface finish/texture | Polished or textured cavity surfaces add finishing labor to the mold build |
Matching mold steel grade to expected production volume is one of the more consequential tooling decisions: building a hardened production-grade mold for a low-volume run wastes money upfront, while building a lower-grade prototype mold for a high-volume program risks premature tool wear and costly rework mid-production.
ODM stands for Original Design Manufacturer — a manufacturer that designs and engineers a product, in addition to producing it, which a customer can then sell under their own brand. This differs from OEM (Original Equipment Manufacturer) work, where the customer supplies a finished design and the manufacturer's role is limited to production, and from private label arrangements, where an existing off-the-shelf product is simply rebranded without any customization.
In the context of custom injection molding, an ODM relationship typically means the manufacturer handles part design, mold engineering, and DFM (design for manufacturability) review alongside production, which can significantly shorten development time for a customer who doesn't have in-house plastics engineering expertise — though it also means the manufacturer's design decisions have a direct impact on tooling cost, part performance, and how easily the design can later be modified or moved to a different supplier.
Copyright © Suzhou Huanxin Precision Molding Co., Ltd. All Rights Reserved.